
Continuing on with old posts from my old blog. I needed to show you this one before I share a file I created to be similar to this one tomorrow! This card is from the Spring, 2011, Issue 28 of the Paper Creations magazine. In the magazine, on page 22 there was an article entitled, "Bunny Card" which was designed by Maricel Fabi. It was this really cute Bunny Card for which they provided a pattern pullout to trace and cut by hand. Now, anybody who knows me knows that I HATE to cut with scissors. (I think this is because I am left handed and, when I was little, all scissors were made for right handed people. It wasn't until "modern times" that they made left handed scissors or ones that didn't matter which hand you used! LOL You won't understand what a problem this is UNLESS you are left handed OR you are right handed and have tried to cut using left handed scissors!! LOL) This is what I got my electronic die cut machine and my Make The Cut software for!!!!
 The pattern for the full card was too big to lay out on my regular size all-in-one printer with flatbed scanner so I simply scanned in 1/2 of the card. I then copied the image, flipped it, moved it to overlap properly, and welded the two pieces together to make my card base. I then scanned in or created the extra pieces and parts like the vest, the bowtie, and the nose. Their pattern didn't include the flower and stem so I created those along with extra arms and legs in case I wanted to pop those areas and add extra dimension.
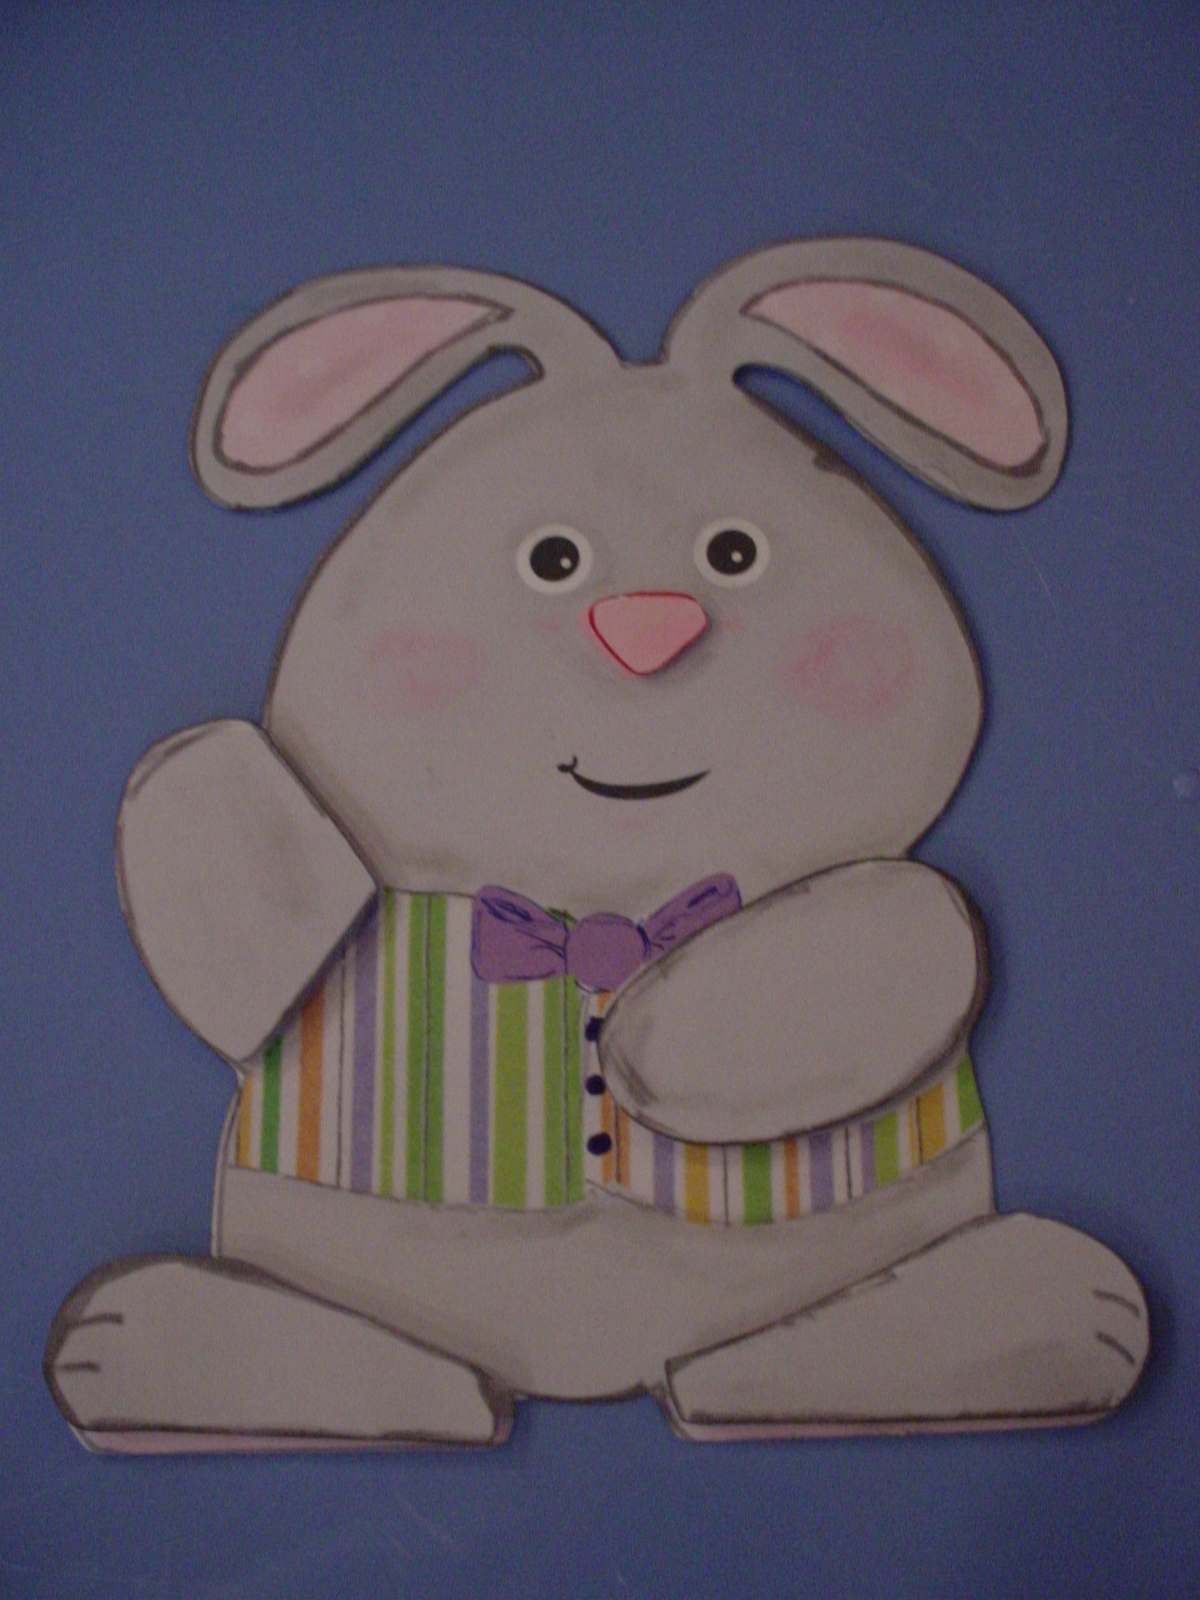 |
| This is the "Print and Cut" Bunny |
Then I thought - well hmmmmmmm. . . . . . . I think he would be really cute if I made him into a "Print and Cut" file - I bet that I could do that really easy. So I created a pink polka dot texture that I added to the "inner ear" parts I had created and a multi-colored striped texture that I added to his vest. I found paper I had in my stash to get these "textures" from and scanned them into my computer and made texture files from them. I then created a "full bow tie" with basic shapes and added a purple color to it. I then made his body gray and added his mouth and his eyes to my MTC file so that they would "print". I then printed the bunny out on my printer (I also added separate feet and hands to "pop" dot to give it some added dimension) and then cut him and the extra pieces with my Cougar (I could also have cut him with my Expression but the Cougar was the one plugged in!). I then used Marker to ink the edges to give it some more dimension and chalked his cheeks. Otherwise, its all printed! IF I had a bigger printer (One that would print 12x12 say) I could have printed him out as a card. Since I just have a regular 8 1/2 x 11 printer I printed just the single bunny. HOWEVER, he could be glued on to the top of a card base. He can also be resized easily.
Since the file I created was from a pattern in a magazine, I can't share it with you here even though I would like to. HOWEVER, I wanted to share all of this information with you to show you what YOU can do with a pattern, your die cut machine, your printer and scanner and Make The Cut software and a little imagination! Just IMAGINE!!! LOL
As always, thanks for stopping by. Please let me know if you have any questions on how I did any of this or if I can help you out with anything. You can checkout the magazine's website here: http://www.papercreationsmag.com/. There you can see some of what is in their current issue, back issues and free projects and ideas. I am not affiliated with the magazine at all but like to give full contact information when I use something from a source. Thanks.
No comments:
Post a Comment