Welcome!

Welcome to my New Blog. This blog is for sharing my crafting ideas and my cutting files that I create primarily using the Make the Cut Software and my electronic cutters which include my 18" Black Cat Cougar, a Silhouette SD, and an original Expression.

All files and information shared here is for your personal use only. Please contact me if you wish to use any items commercially, for blog contests, or to submit for magazine publication. Thank you.
Showing posts with label cupcake. Show all posts

Tuesday, October 16, 2012

Have a "Sweet" Birthday "Print and Cut" Image

A couple of weeks ago, someone on the MTC forum had asked how to take a "digital" image of a cupcake with some text and stars encircling it and "change" the color of the text in a word processing program or some other program. The problem was the file was a png file and it was not "editable" in that format. I had suggested that the user could use "pixel trace" in MTC to pull the image in, break it apart and make it "editable" so she could change colors, etc.  I then proceed to do that in MTC to show her.  Well, it took a little time and effort to do it (more than I originally thought it would).  So, then I decided to see if I could create my own similar file directly in MTC and see if it would take less time then trying to pixel trace and edit the other one.  To do the circles of stars and the text in a circle, you use the "wrap object to path" tool in Make the Cut.  (I wrapped to a circle sized as needed.  Once that is done, you can delete the circle as it is not needed). Time wise, this one may have taken a little less time on the whole but probably not a lot.

However, since this one is a file I created on my own, I figured I would share it here for anyone who might like to make use of it. My vision was that it would be used as a "print and cut" or like a digital stamp image that you printed out as opposed to a "paper piecing." Each part of the image is on its own layer and can thus have its "color" changed easily.  Don't want yellow stars, make them purple. Want one row of stars one color and the second row another, you can do that as the two rows of stars are on separate layers.  Want the text to be orange, easy to do.  Prefer yellow icing on your cupcake, go ahead after all, its your card and your image - give it your own personal touch! The bottom image shows how easily I changed colors in the file.

I'm sharing both a MTC file as well as an SVG file for you to download.  These are shared via my public folder in my dropbox account. As always, I would love to see anything that you might create with this file.  It would make a great image to use in the middle of the "swinging Z" cards that I created and shared previously here on my blog.

You can download the Sweet Birthday Cucpake MTC file here.

You can download the Sweet Birthday Cucpake SVG file here.

As always, thanks for stopping by.


Thursday, April 12, 2012

Sliding Pop-Up Card MTC File to Share

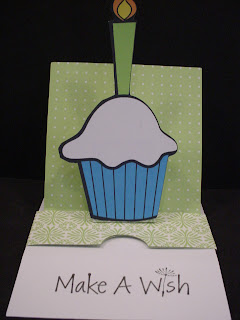
This is picture of card closed as first seen.
Hey everybody.  I wanted to share this Make the Cut file I created based on a Sliding Pop-up Card Tutorial written and shared by Kim Score on the Splitcoaststampers website.   There is also a video tutorial shared there as well for those who want a "visual".  You can also check out the Splitcoast Gallery of cards created based on this tutorial as well. Kim used a Raggedy Andy style image to popup on her's, he is so cute, I think that is what first drew my attention (looks like might have been a valentine card). (I Love the Mickey one in the Gallery that was created by midnightsmum as well!) You can also find Kim's personal blog at Paper Punch Addiction. I need to go check out her site and see more of her work!

They are fairly simple "pieces" to cut and score manually so some might wonder why I would create a "cut file" for something like this.  Well first, I am manual paper cutter and ruler challenged!  LOL  I cannot seem to get a "straight line" for the life of me.  Plus, I hate having to have to "measure" all the time.  By creating this cut file, I don't have to worry about cutting the edge straight or measuring off for the score lines each time I want to create this card.  I just lay my paper on the mat, press a few buttons, and I'm ready to start assembling!  There are several "notes" in the cutting file so be sure to read those, especially regarding how to use score lines in the file if you are unfamiliar with that.

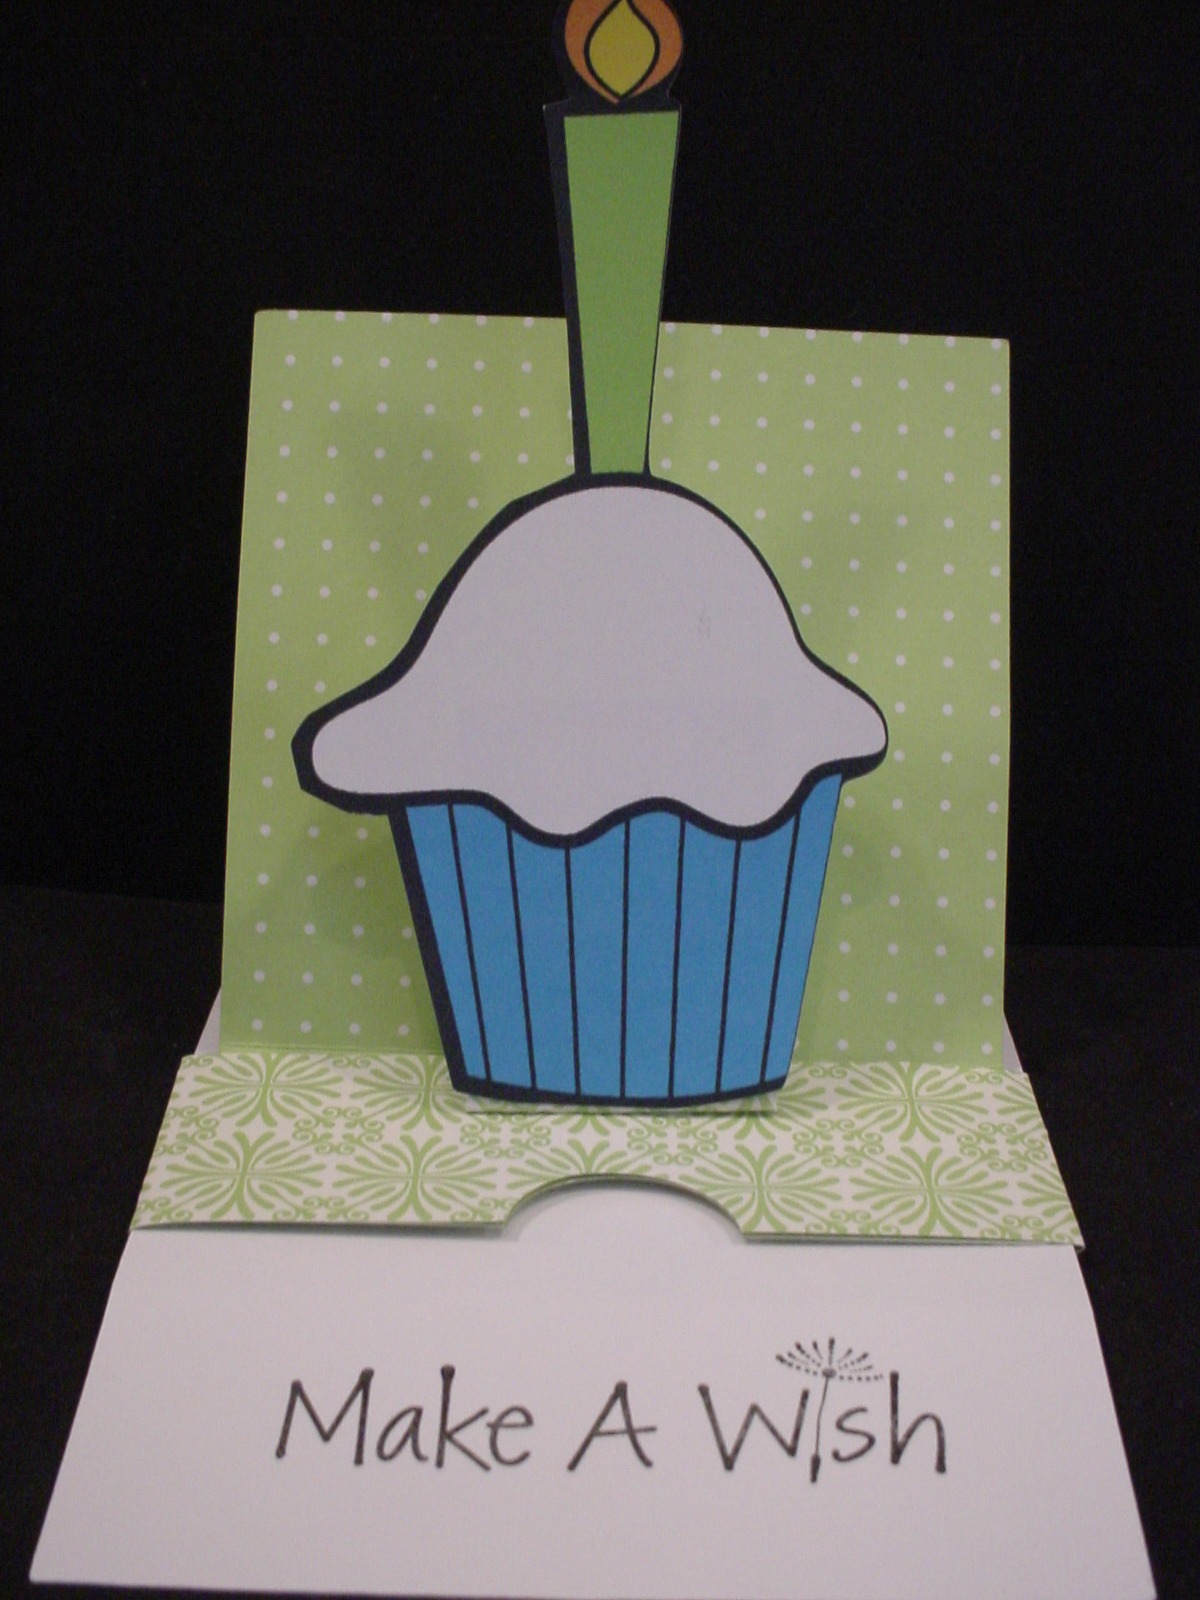
This is picture of card opened and showing message.
My sample card was created using double sided paper and a "print and cut" cupcake image I had previousl found for free online and cut with the Silhouette SD (it was in my cut but not used yet pile!).  Kim does recommend using a heavy cardstock when making htis card.  I didn't have a really heavy cardstock so used what I had.  It worked okay but I can see where a heavier cardstock would probably be better.

 Make sure that you read Kim's directions throughly before starting to assemble. I would also recommend creating a "mock-up" first from some inexpensive paper before using any good paper that you only have 1 sheet of! Watching the video would probably be a good idea too! It's not really that complicated once you get it all figured out. Good luck and let us see what you create with the file!  Please note, the file does not include the cupcake with the candle.

As always, thanks for stopping by!  DD's Travel VB will be ending soon and I hope to be able to maybe start to create and share some more files here on my blog sooner rather than later!

If you have a 4shared account you can download the MTC cutting file here Sliding Pop-Up Card. If you don't have a 4shared account, you can signup to get one for free and then download the file.  This appears to be a change in their Terms of Use, you didn't need to have your own account in the past in order to download my files. I am exploring other options for sharing my files since I don't want people to have to have a 4shared account just to get my files. However, since I don't charge for my files and I don't have ads or anything on my blog to make $$ I need to find a simple and free option to do so.  Stay tuned and I will update as soon as I figure something out! I have only shared a MTC file here since that is how I created my file and it is really fairly simple file to recreate from Kim's directions if you prefer another format.

UPDATE:  I have also shared the file in a dropbox account.  You can find the Sliding Pop-Up Card there as well. It should download directly to your computer.

Monday, January 2, 2012

Cupcakes .svg file


This was one of my most popular posts on my old blog!  This set of files was downloaded literally thousands of times! I think one of the reasons is because Carol, at Extreme Cards and Papercrafting, used the files to help her create a cupcake pop-up card back in October, 2010.  You can see Carol's Cupcake Pop-up Card on her blog.  If you have never checked out Carol's blog, you should!  She does awesome work!

My file contains a set of cupcakes. They are shared here as an .svg file. There are several layers to each cupcake. The base shape. The icing which has 2 layers to each cupcake. The second cupcake has a cherry and finally, both have the wrapper layer. Download the cupcakes .svg file. If I get a chance, I will try to open these up in MTC and save them as MTC files and share them here soon as well!

Thanks for stopping by!